Thursday 8 December 2011

Christmas Poinsettia

 Every Tuesday for the last 18 months I have attend a local Sugarcraft course.  It is held at a local community centre (no it's very modern honest) and costs me a fraction of what a similar course held at a college would be.
I have learned how to handle various fondants and their properties but most importantly I am adding to my limited knowledge of making flowers and figures for my cakes.
So far I have made Flowerpaste Roses, Christmas Figures, Lilly's and Poinsettia and lots and lots of leaves !!!

For this terms project we are making a Christmas Cake with many elements to it, one of which is a Poinsettia and having googled to see if I can see a video or instructions on how to make this Christmas flower I realised that there isn't anything on the web remotely helpful.

So here is my (hopefully) helpful way to make a Poinsettia Topper for a cake
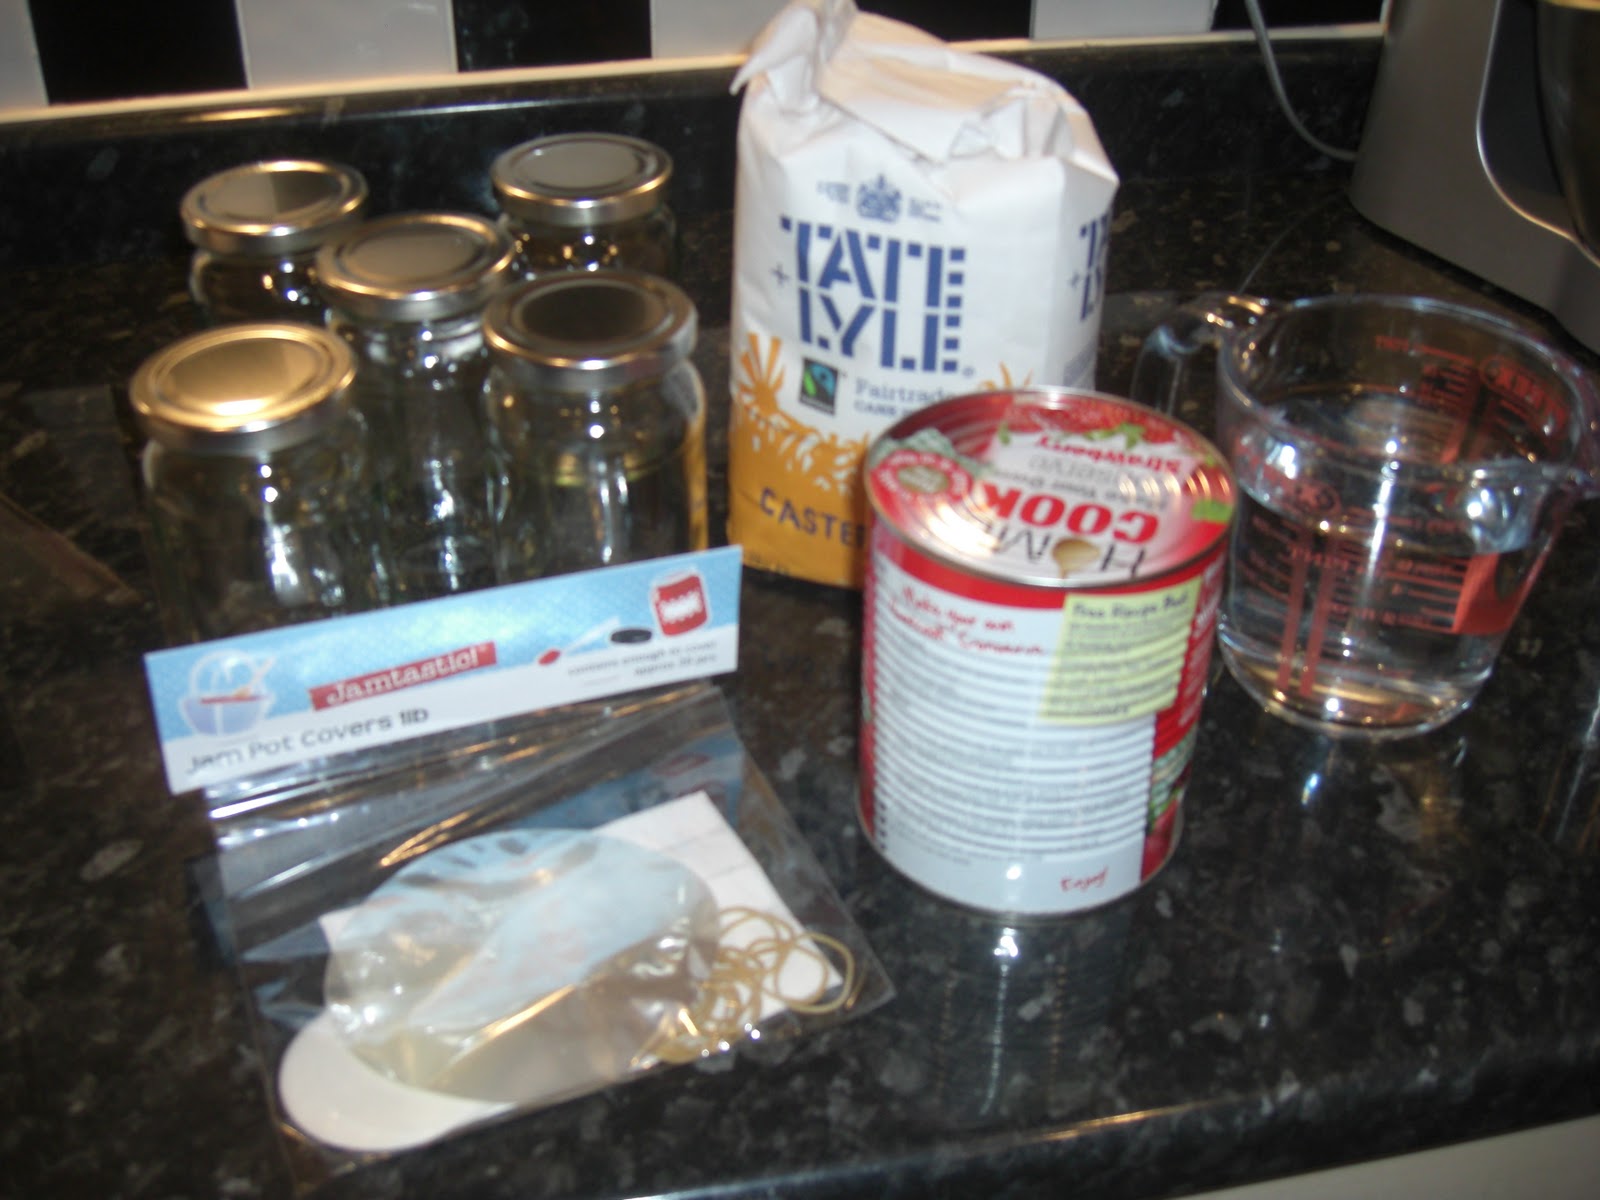
Equipment List :
Flower Paste
Christmas Red/Foliage Green/Egg Yellow Food Colouring Gels
22 Gauge white Wire
Small Rolling Pin
Ball Tool
Paint Brush
Edible Glue (You can make your own from Icing sugar and water)
Craft Knife
Trex
Poinsettia Cutters
Leaf Cutters (any will do I used Rose Leaf cutters)
Leaf/Flower Veiners
Edible Dusting Powders in Red and Green
White Florist Tape Stem Tape)
Cling Film
Scissors
Sponge

A Poinsettia is made from 2 different sized petals 3 small inner and 3 larger outer.  Which size you choose is up to you.


 Take your Cutter and Veiner and Red Flower Paste, using a small amount of Trex to stop the paste sticking and drying out, make a small sausage from your flower paste.


Cut a 22 Gauge Wire into Quarters, take one piece and placing some glue on the end insert it into the 'sausage'.  Carefully roll out the paste from the sides of the wire and from the top of the wire.  Roll until the paste is very fine just keeping some bulk around the wire for support.


Take the Petal Cutter and cut out a petal and gently vein.  Placing the petal carefully on your sponge frill and thin the edges using your ball tool and leave to dry with some movement in the petal.


Repeat this procedure for each petal so you should have 3 small and 3 large.
Do the same for 3 leaves.
 Leave all petals and leaves to dry in a dry place, over a radiator works at drying them if you need them quickly.  Handle them very carefully as flowerpaste is very delicate and quite brittle when it's dried.

Next you need 6 stamens (centre of the flower) 
Cut 2x 22 gauge wire into 6 pieces and taking the yellow flowerpaste roll a small ball and attahc to the wire with glue.  work the ball down the wire gently so that it is well attached and creates a small cotton bud like shape- repeat 6 times and leave to dry.


Once all your parts are dry dust them with the appropriate colour dusting powder to create a depth of colour and realism that the flowerpaste alone cannot achieve, my tips for the rose leaves is to dust the edges with a burgundy colour to add a little something.
Use a soft but big brush for this but be careful as a little dust goes a long way, I find a make up brush works for me I found some in Primark in the summer that do the job perfectly.


Next comes assembling your Poinsettia.  


Cutting your Stem Tape into 1/2 width fasten the 6 stamens together with one in the centre and the other 5 going around it. Then attach the smaller petals in a triangle around the stamens, attach each petal one at a time making sure each is secure before you add the next, once your smaller petals are aligned and in place attach the larger petals on the outside in the gaps between the small petals. Then attach each leaf for a beautiful single Poinsettia Cake topper.


This will be going on a cake once it is covered so I shall show you a picture of it in place shortly.

Please feel free to ask any questions and show me your end result if you give it a go.

Tuesday 22 November 2011

#CharityTuesday

Happy Tuesday Everyone!

As part of #CharityTuesday I'd like to say a big Thank You to all the people that have agreed to support us in some way with the ball.

My first Thank You goes to Sam and Karen at Glamourpuss Weddings.  I emailed them last year as I was looking at getting some Chair Covers for our venue, they make the room just that little more classy and intimate and as Glamourpuss are a local company I figured the logistics might be easier.
The email I got back was overwhelming as Sam at Glamourpuss offered full venue decoration including Centrepieces, Twinkle Backdrop, Chair Covers, the list goes on and on. I had never met Sam before but she felt so moved by our story that she offered her full support, not only for our first ball but for as long as there was an Alexander's Charity Ball, Glamourpuss would be our decorator.  Glamourpuss is run from Sam's home in Barnsley, she works full time hours and has 2 children so for her to offer this for the foreseeable future is unbelievable. 

Glamourpuss Weddings Website

Tankersley Manor's Tankersley Suite is a beautiful room but it was transformed on the night and looked amazing, the work involved was stupendous and gave me the wow factor I was looking at for my guests.


The theme was cocktails so each table had a centrepiece of a different cocktail, which with 20 tables was no small task and when the lights went down they were lit up, plus the charity colours of Yellow (gold) and Blue were incorporated into the sashes for the chairs and table runners.


I am very excited about this year's Vegas Theme and I know Sam has tonnes of ideas for decoration for the next few years as well.

So a HUGE Thank You again Sam you are Brilliant and I can't wait to see how it all looks in February.

As part of our fundraising for FSID, Sam is running a competition to 'Win Your Wedding 2012' so please if you are getting married in 2012 and would like Sam and her team to work their magic on your venue (subject to Terms and Conditions) Get in touch with her via her Website Glamourpuss Weddings

More Details and Pictures can be found here on Glamourpuss Weddings Facebook Page


Thank You So Much Sam and Karen xxx


If you'd like to help or make a donation to Alexanders Charity Ball Please see my previous #CharityTuesday  post for more details 
Thank You


Monday 21 November 2011

We're Jammin

Haha sorry it had to be done and obviously you are all singing the song now !!!


So my idea for a homemade hamper for the olds in our life involved Jam.  This frightened me a little I was having visions of thermometers, strainers, muslins and lots of pulpy, fruity mess but then I saw this beauty in one of my favourite haunts ...Lakeland. I know how Rock and Roll?


Ok so it's still homemade even though we didn't pick the fruit ourselves...Right?


So I needed Jam Jars, Wax Circles, Sugar and Water and that is it! 


Following the instructions on the tin I literally put it all in the pan and let it boil for about 15 minutes then I did the set test:  Put a Teaspoon of the Jam onto a COLD saucer and popped it into the fridge.  It's reached it's setting point if when you run your finger through it it wrinkles.


Wooo Hooo we're Jammin (sorry) all's left to do is get the Jam into the sterilised (hot) jars and top with a waxed circle and lid ...Simples!!!


The mix only made 4 full jars when it does state 5 but all in all this was really easy to do and a great time saver if like me Jam scares you a bit and you have a busy homelife.


My jars are from Jam Jar shop and cost £10.65 for 24 jars plus delivery.  See their Blog JamJarShop Blog. I have however made a vow that I will save all our jars this year ready for next year.


At the minute I am looking for ribbon to adorn my jars with but I have today found a lovely Blog Post from 2009 that has a list of great printables perfect for any project Living Life as Art so I shall get printing and show you the finished result shortly.


If you have any recipes to share that are great for Homemade gifts I'd love to hear them  

Tuesday 15 November 2011

#Charity Tuesday

So today is Tuesday and as an avid Tweeter I shall follow their lead and make every Tuesday #CharityTuesday

I'm a staunch supporter of The Foundation for the Study of Infant Deaths (FSID) and every Tuesday I shall keep you abreast of my fundraising efforts for my event Alexander's Charity Ball.

Alexander's Charity Ball was created in memory of my Son Alexander whom we lost to Sudden Infant Death Syndrome (Cot Death) on 9th February 2007.  This is the day a little piece of my heart went to heaven leaving me forever on this earth with a broken heart.


Our 2nd Annual Charity Ball is being held once again at the Fantabulous Tankerlsey Manor Hotel on Friday 10th February 2012 with 200 guests in attendance on the night being wined, dined and entertained.  All our tickets have sold which is amazing but as part of the event I hold a Raffle and Auction to boost the funds.  This years Giltz and Glam raffle will be drawn on the 7th February 2012 and I have 4000 tickets to sell.  The prizes are brilliant and I'd like to say a huge thanks to all that have donated so far, the details of which are over on the Alexander's Charity Ball Website Alexander's Charity Ball
Tickets can be purchased from me so please drop me an email and I'll gladly send you some or if you are a business that would like to donate a prize please get in touch Email

My aim in fundraising is to keep Alexander as a big part of our family, keeping him fresh in our minds but without all the sadness that surrounds his death.  We are sad don't get me wrong but there are 6 others in our family who we must carry on and live a 'normal' life for.  Fundraising allows us to live and laugh like other families but as we talk often about Alexander he will never truly be gone.

For more information about me, my family and our story please visit Alexanders Charity Ball


Monday 14 November 2011

Christmas Chutney

This is it my first blog post ...

So I'm preping for Christmas and this year I am going for Homemade especially for the olds, we never know what to get Ian's Granparents so this year I am being even more fabulous and making them stuff from scratch !

I've done them a hamper before but it was full of things we had bought and not very 'personal' so I am being organised and starting relatively early.  To be included in the hamper are jams (a post for another time) and chutneys as well as a Family Photo calendar and bits and bobs made by the kids.

Having researched the net for appropriate (and easy) recipes I went to my favourite foodie site BBC Good Food the recipes on here are rated and tried and tested by others.  You can type what you are looking for into the Search Bar and up pop lots of lovely recipes by well known cooks and chefs, there is also a facility to add recipes to your binder to save for a later date.

The chutney recipe I decided was easy enough for me was an Apple and Cranberry Chutney which can easily be made up to 6 months in advance...Perfect.

The recipe and Method are here Apple and Cranberry Chutney

Warning this recipe involves peeling and chopping quite a few apples 1.5kg to be precise but other than that it looks after itself.  The only liquid you add to this is Cider Vinegar which I have to say does smell a bit during cooking but the final product does not taste at all of vinegar.

After about an hour of bubbling away on the hob this is what it looked like, you add the Cranberries after 50 minutes hence why they look lovely and full. 

This is the final product minus a few decorative ribbons and labels etc, the jars are similar to Kilner jars but are lots cheaper from Ikea at 90p each and were washed and sterilised before use Here's how to sterilise jars for food
I am going to assume that the longer they sit and mature the darker red they will become but on initial tasting it was lovely and sweet with a slight tang.  I think it will work great with cheese, in sandwiches or sitting alongside your turkey for Christmas dinner.

Go on try it,  it's so easy to do and very impressive when you hand your lovely homemade goodies to a friend or family member and it means in this very commercialised time that you are thinking about personalising your presents.